Connecting A Tablet to a Magewell USB Fusion Device
The full presentation power of Magewell's USB Fusion hardware is unlocked with the versatile USB Fusion companion app for iOS and Android tablets. USB Fusion provides two Wi-Fi based methods to connect the tablet to the device: Station Mode and AP Mode. This blog will introduce these two modes.
Station Mode: USB Fusion acts as a client to connect to a Wi-Fi network. This is suitable for installations with an existing Wi-Fi network.
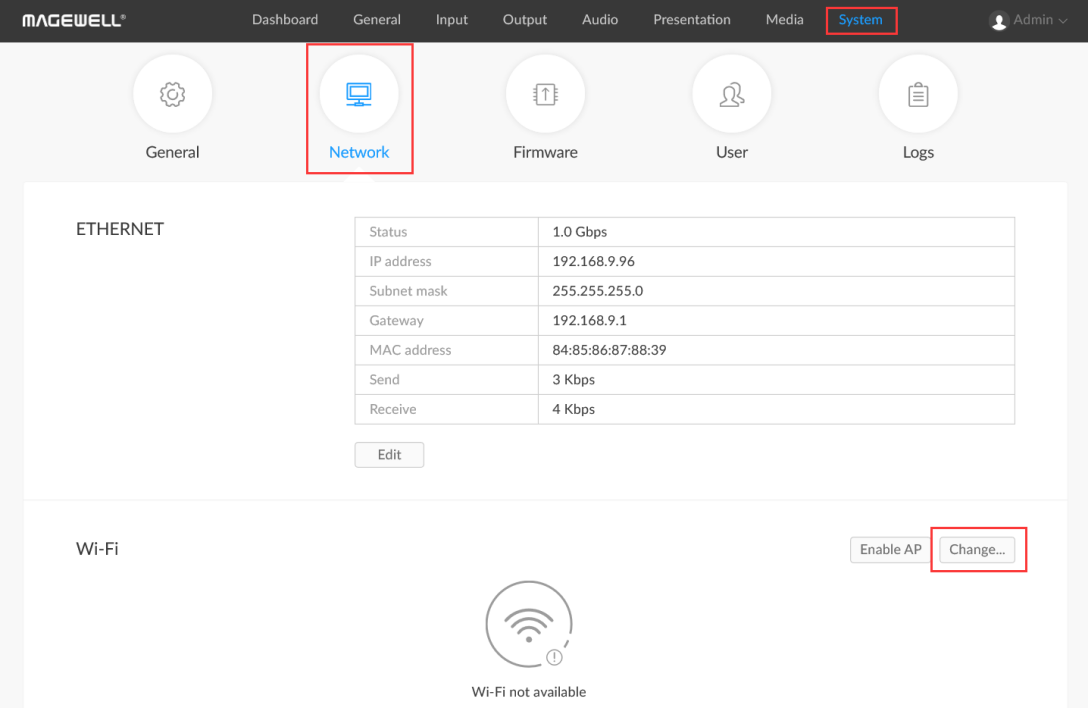
1. After the USB Fusion device is powered on, log into its Web GUI. Click “System” in the top navigation menu, then click “Network”. In the Wi-Fi section, click "Change...".
2. In the list of available Wi-Fi networks, click the network you wish to use. Enter its password and click “Connect”.

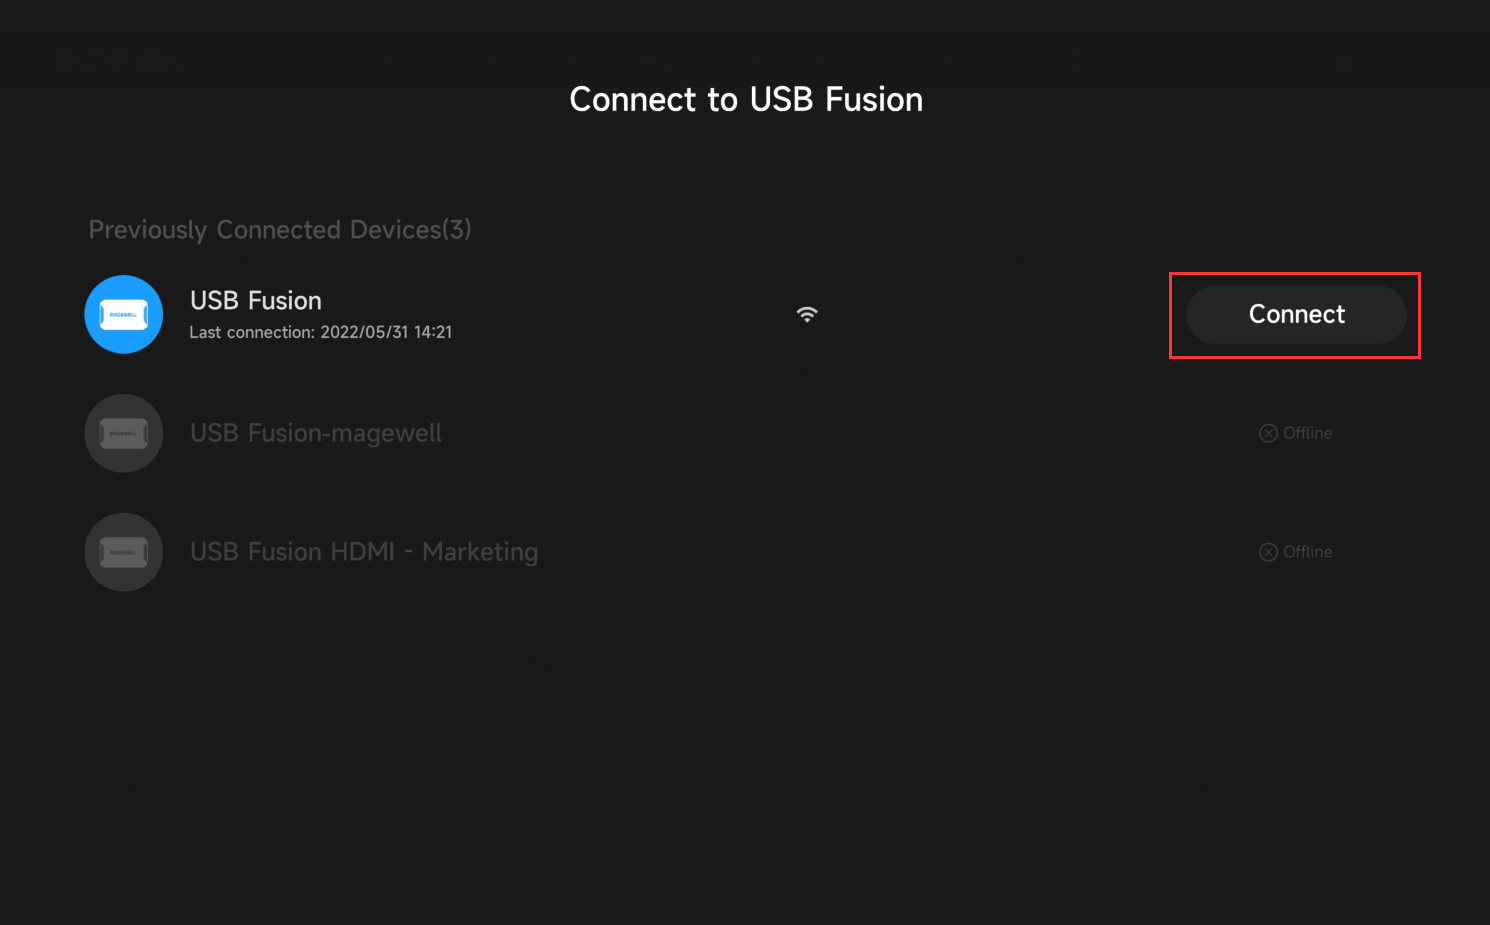
3. Connect the tablet to the same Wi-Fi as USB Fusion (“magewell_5G” in this example). Open the USB Fusion app on the tablet. Select the corresponding USB Fusion device in the displayed search list, and click “Connect” to enter the UI of the app.

AP Mode: USB Fusion acts as an access point (AP) for other devices to connect. This is suitable for installations without an available existing Wi-Fi network.
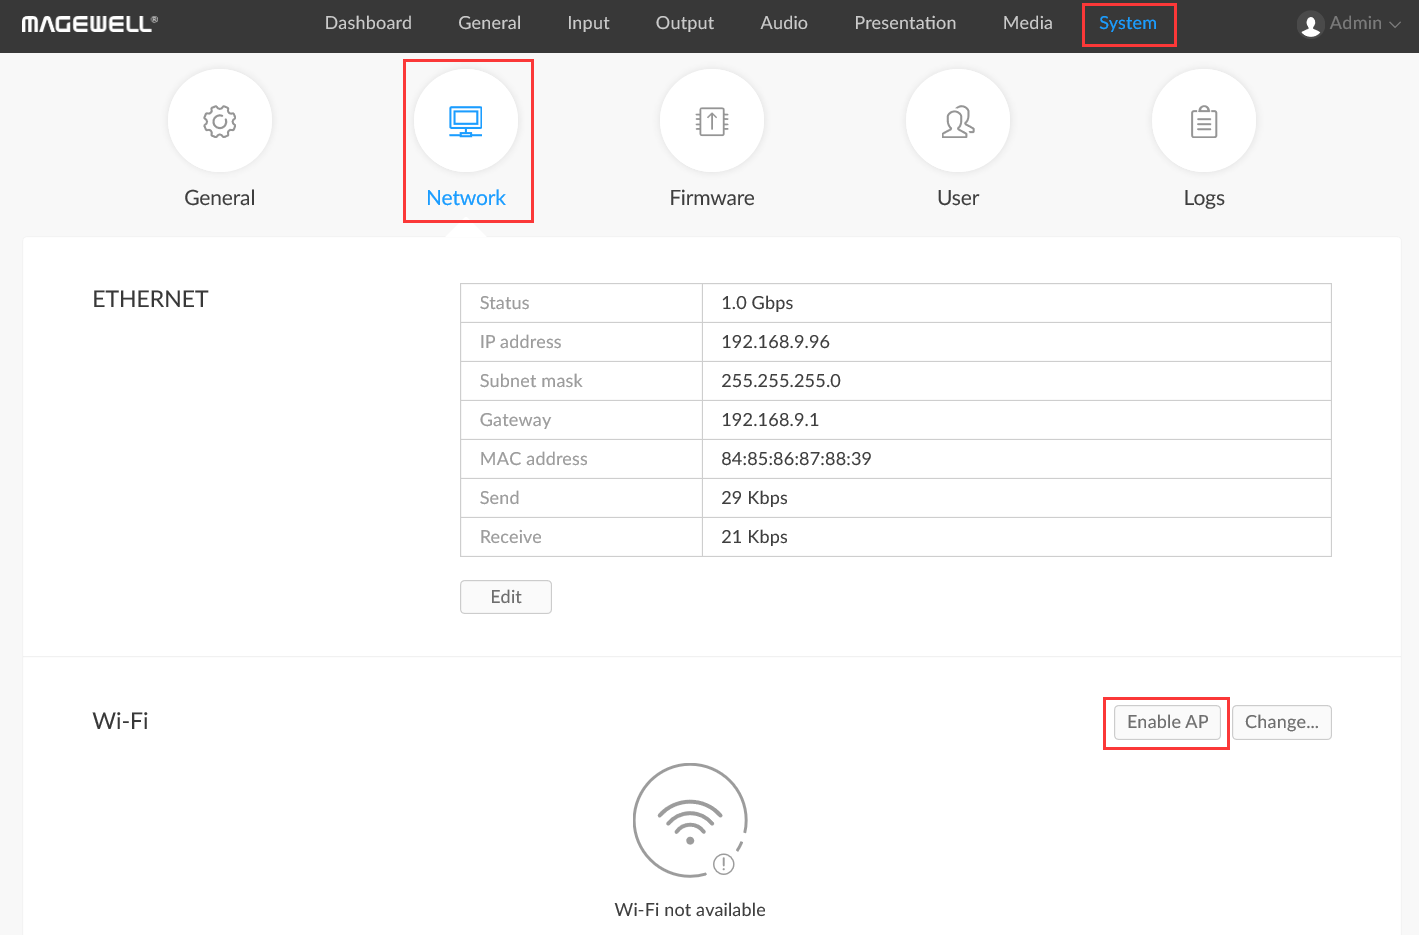
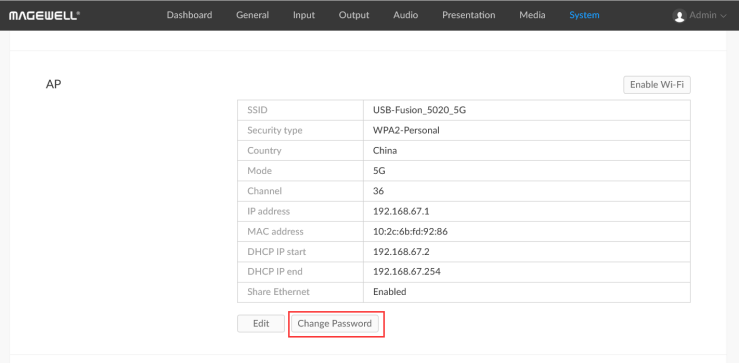
1. After the USB Fusion device is powered on, log into its Web GUI. Click “System” in the top navigation menu, then click “Network”. In the Wi-Fi section, click "Enable AP".
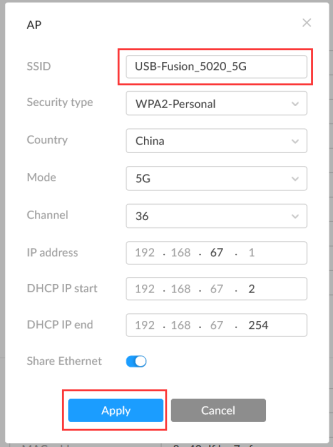
2. Click "Edit", and change the name in the “SSID” field. This will be the name you use to identify the access point when connecting to it ("USB Fusion_5020_5G" in this example). Change any other parameters as required, then click "Apply".
* The default SSID name is USB-Fusion_xxxx, where xxxx indicates the last four digits of device serial number. When the 5G mode is used, _5G will be appended to the name. Supported characters include AZ, a-z, 0-9, and _-, allowing 1-32 characters.
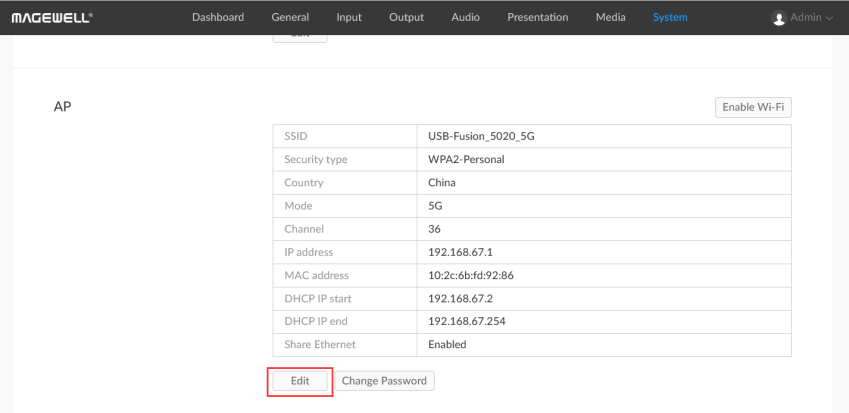
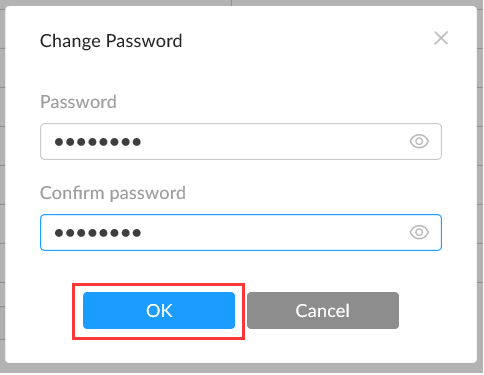
3. Click "Change Password". In the pop-up dialog box, enter and confirm the new password for the access point, and click “OK”.
4. Connect the tablet to the Wi-Fi access point with the same name as the SSID set above (“USB Fusion_5020_5G” in this example). Open the USB Fusion app on the tablet. Select the corresponding USB Fusion device in the displayed search list, and click “Connect” to enter the UI of the app.