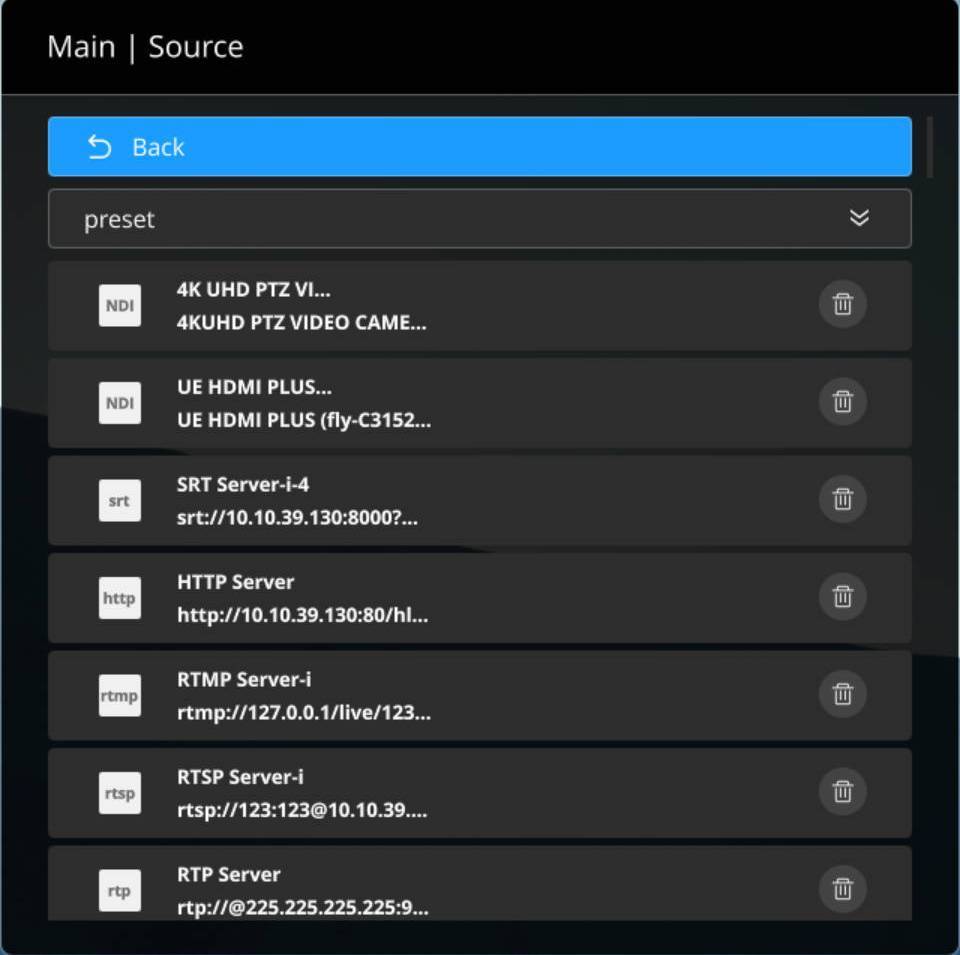
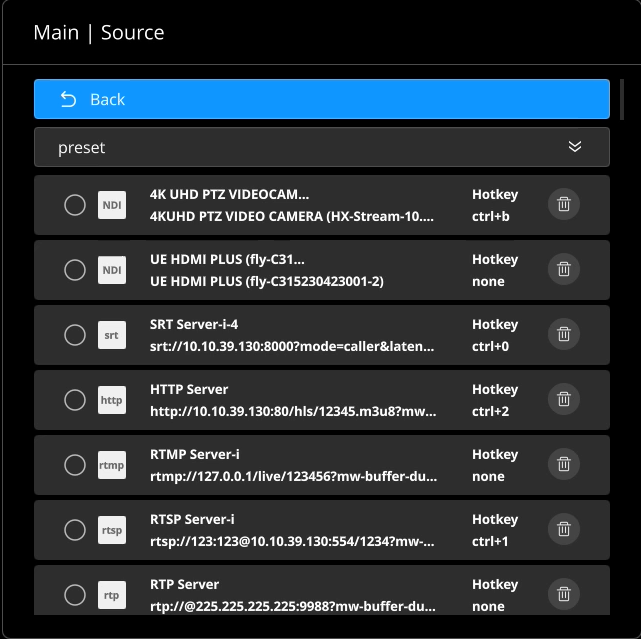
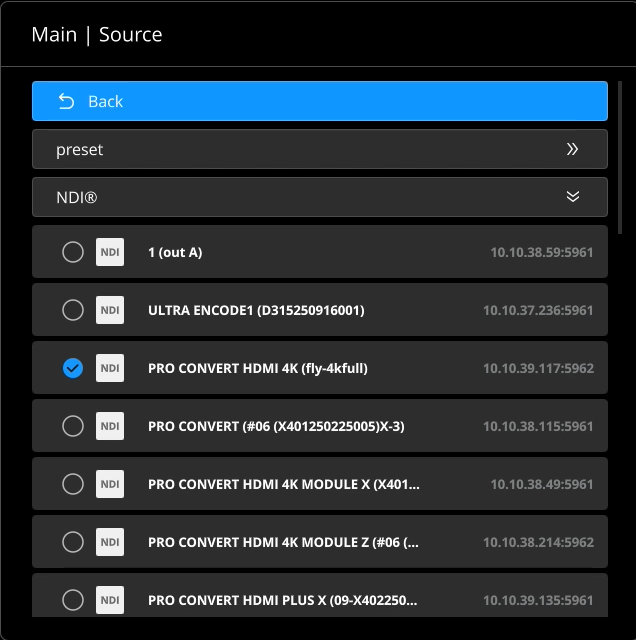
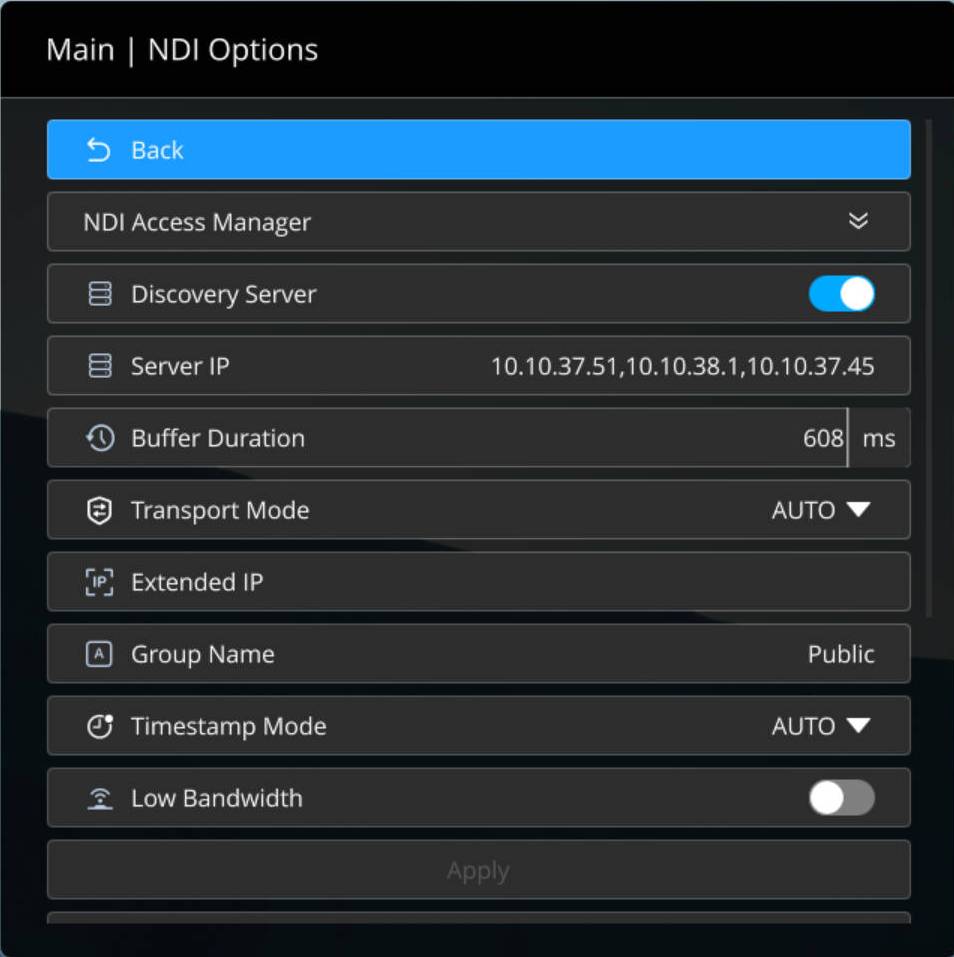
Video
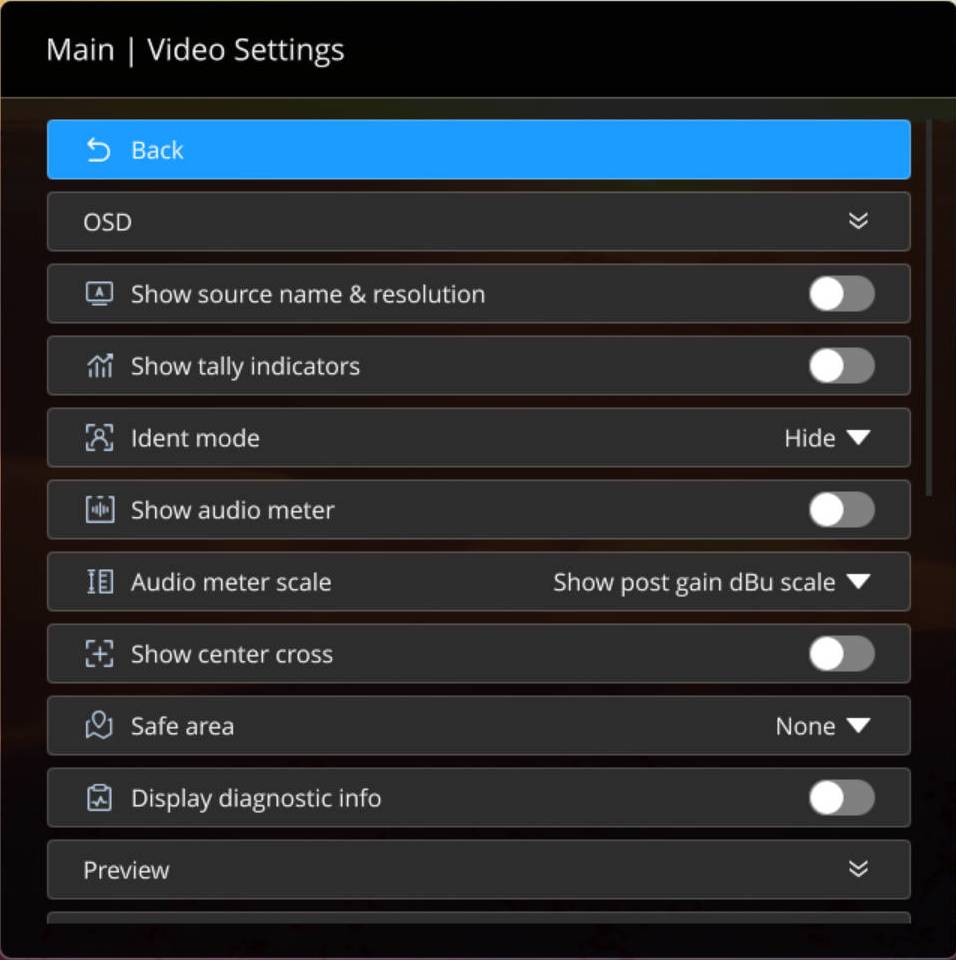
Show audio meter
Disabled by default. When enabled, the audio level meter is displayed on the left side of the output display.
Audio meter scale
Select the audio scale based on your scenario, and choose whether to show the scale after gain. Hidden by default.
When Audio convert mode on the Audio section is set to EBU, available modes include Hide, Show post gain dBu scale, and Show post gain dBFS scale.
When Audio convert mode on the Audio section is set to SMPTE, available modes include Hide, Show post gain dBVU scale, and Show post gain dBFS scale.
Show center crossDisplays a white horizontal/vertical crosshair on the output display. Hidden by default.
Safe areaHelps users keep key content within the frame. The safe area is hidden by default. You can select 80% center area, 4:3 center area, or Square center area.
Display diagnostic infoOverlays the status of the currently decoded source on the output video. Hidden by default.
![]()
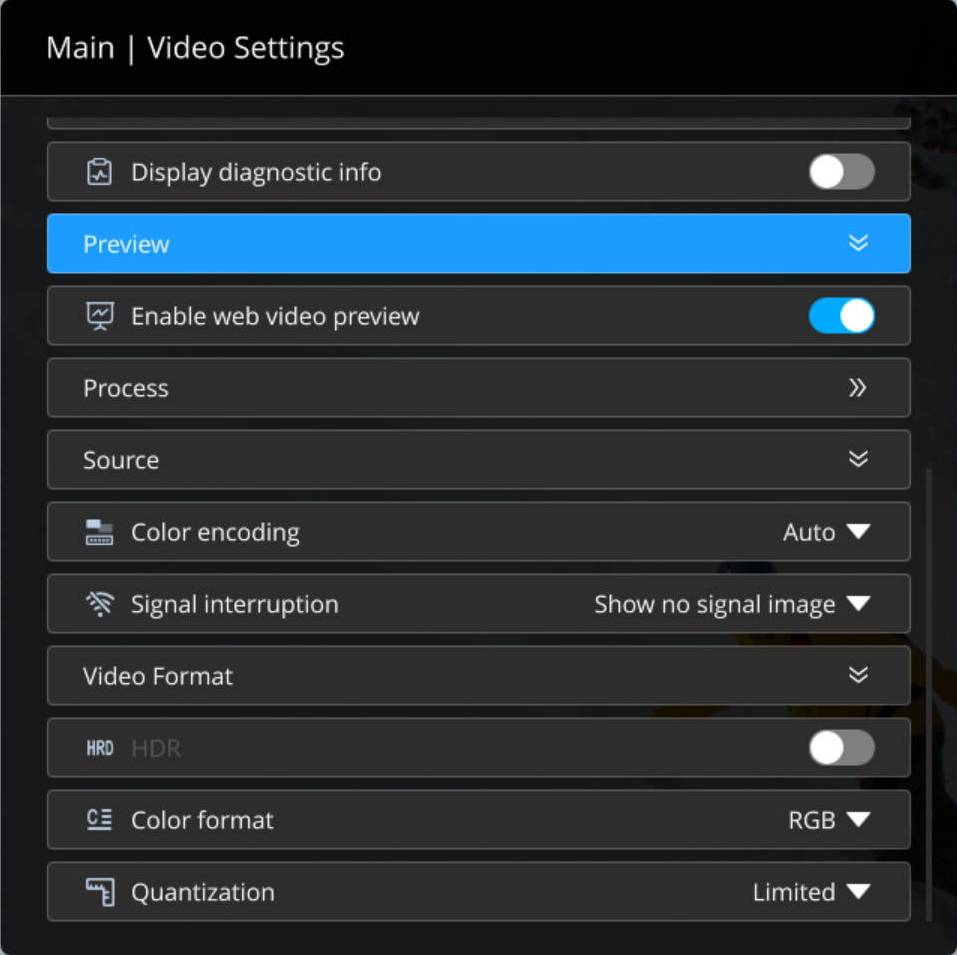
- Preview
- Process
-
Horizontal flip
When enabled, the video is mirrored horizontally. Disabled by default.
-
Vertical flip
When enabled, the video is flipped vertically. Disabled by default.
Deinterlace mode
Default is "Bob". Options:
- Weave: Combines two consecutive fields into one frame. Suisectionle for relatively static images or scenarios requiring original field data.
- Bob: Duplicates a single field to form a full frame. Suisectionle for dynamic content.
- Blend: Generates progressive frames by blending adjacent fields. Suisectionle for static or slow-motion content where reducing flicker/jaggies is preferred over preserving fine motion detail.
Aspect ratio mode
Default is Letterbox/Pillarbox mode. Options:
- Letterbox/Pillarbox: Preserves the source aspect ratio by adding black borders to fit the output display. Letterbox adds borders at the top/bottom; Pillarbox adds borders on the left/right. This is the default.
- Fullscreen: Stretches the image to fill the entire display.
- Scale/Crop: Scales and crops the source to match the output aspect ratio.
- Source
-
Color encoding
Sets the standard to BT.601, BT.709, or BT.2020. Default is Auto, where the decoder automatically adapts based on the signal type: SD uses BT.601 and HD uses BT.709.
-
Signal interruption
When switching sources, you can choose to display a no-signal screen, black screen, last frame, or disable signal output. If signal output is disabled, the display device may enter power-saving mode when there is no signal.
- Video format
-
HDR
If the connected display supports HDR10, you can enable HDR to output HDR10 video. Disabled by default.
-
Color format
Sets the output color format to RGB, YUV444, or YUV422. Default is RGB. Select an appropriate format based on your display device.
-
Quantization
When the color format is set to RGB, you can set the range to Full (default) or Limited.