Tutorial 2: Install Magewell Cloud with Docker on Windows

Read this tutorial to learn how to install Docker on Windows 10 so that you can run your Magewell Cloud image.

Prerequisites

Before moving forward, make sure you meet the following prerequisites. Here's what you need:

  1. A device with Windows 10 64-bit either a physical one, a virtual machine or in a cloud server.
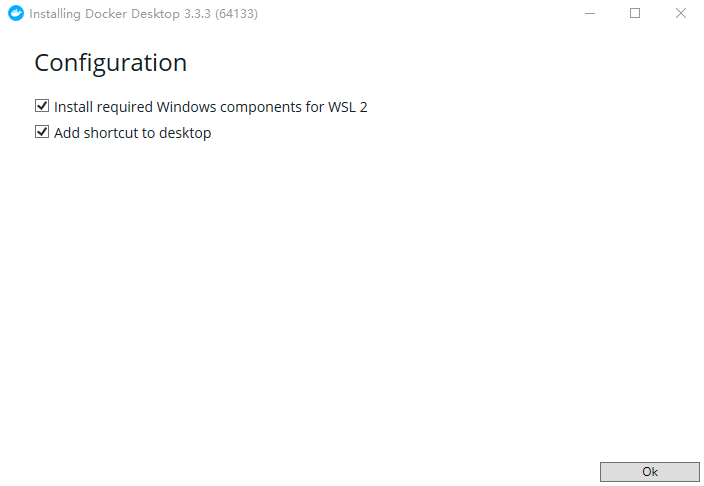
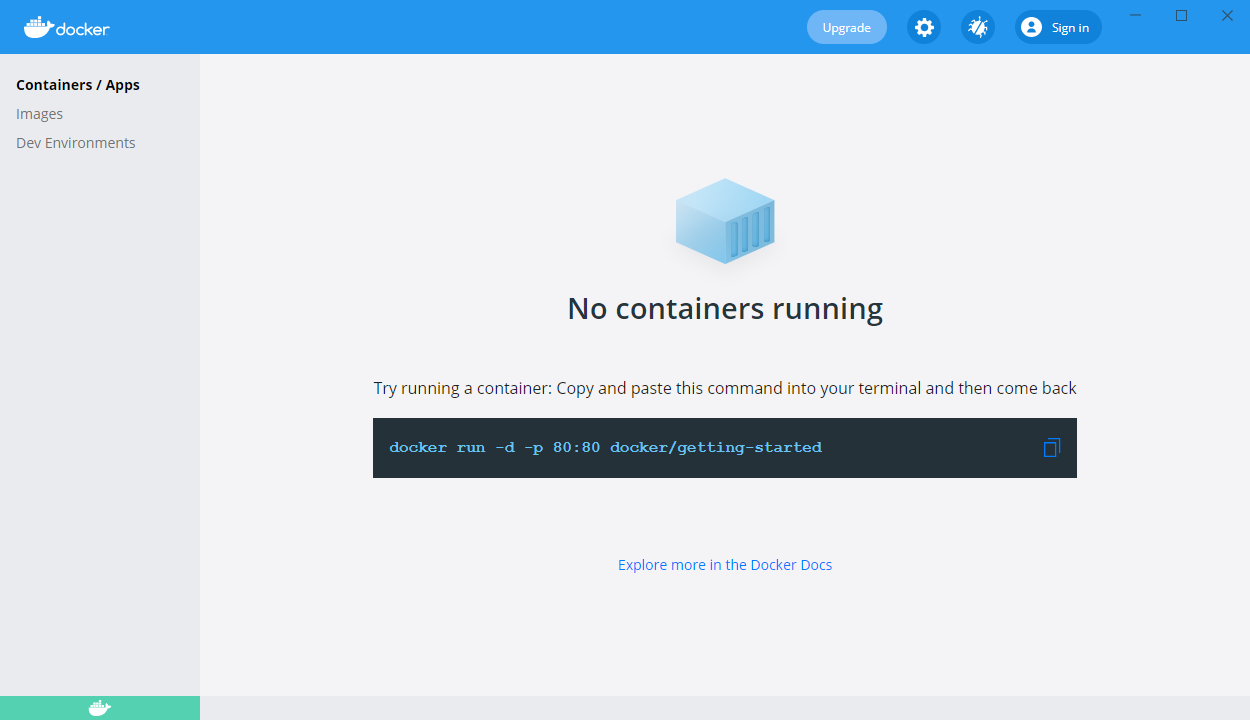
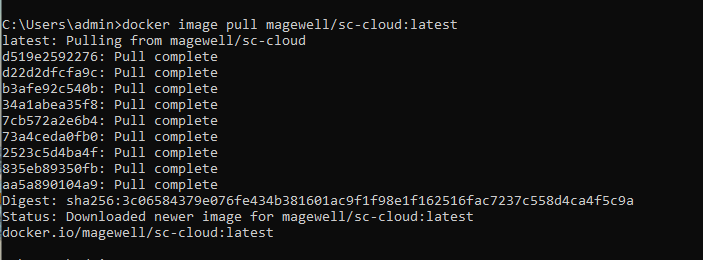
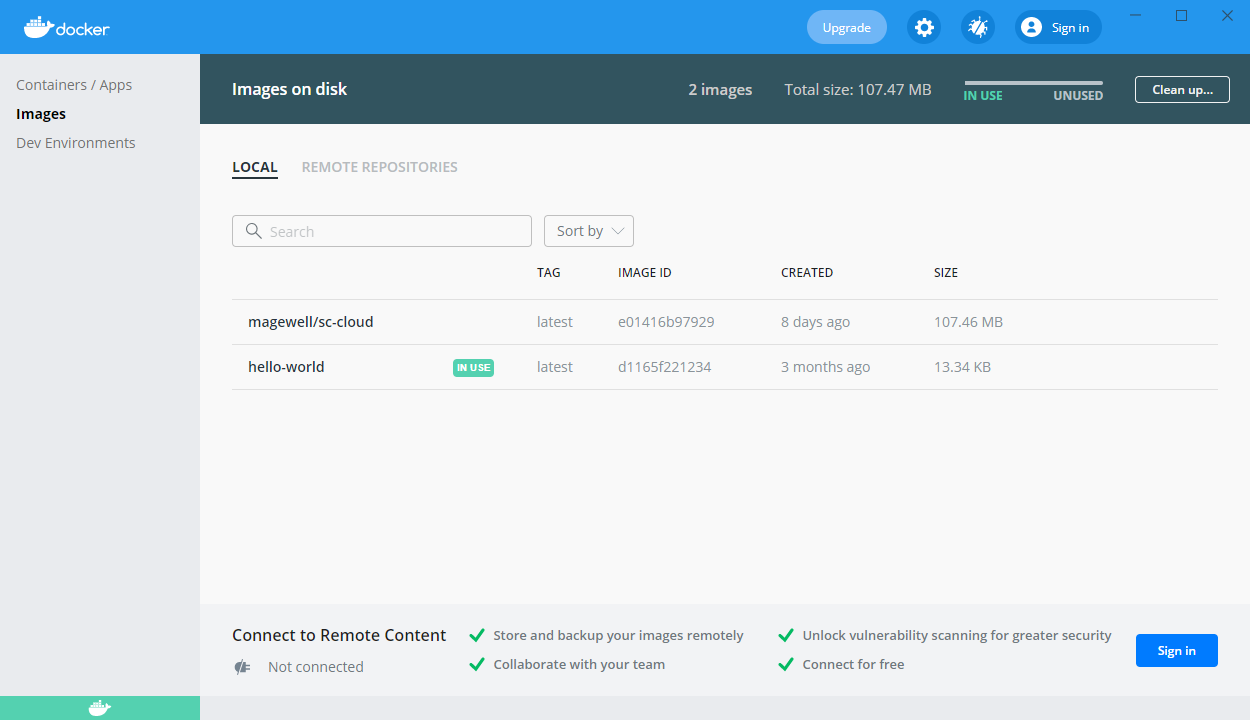
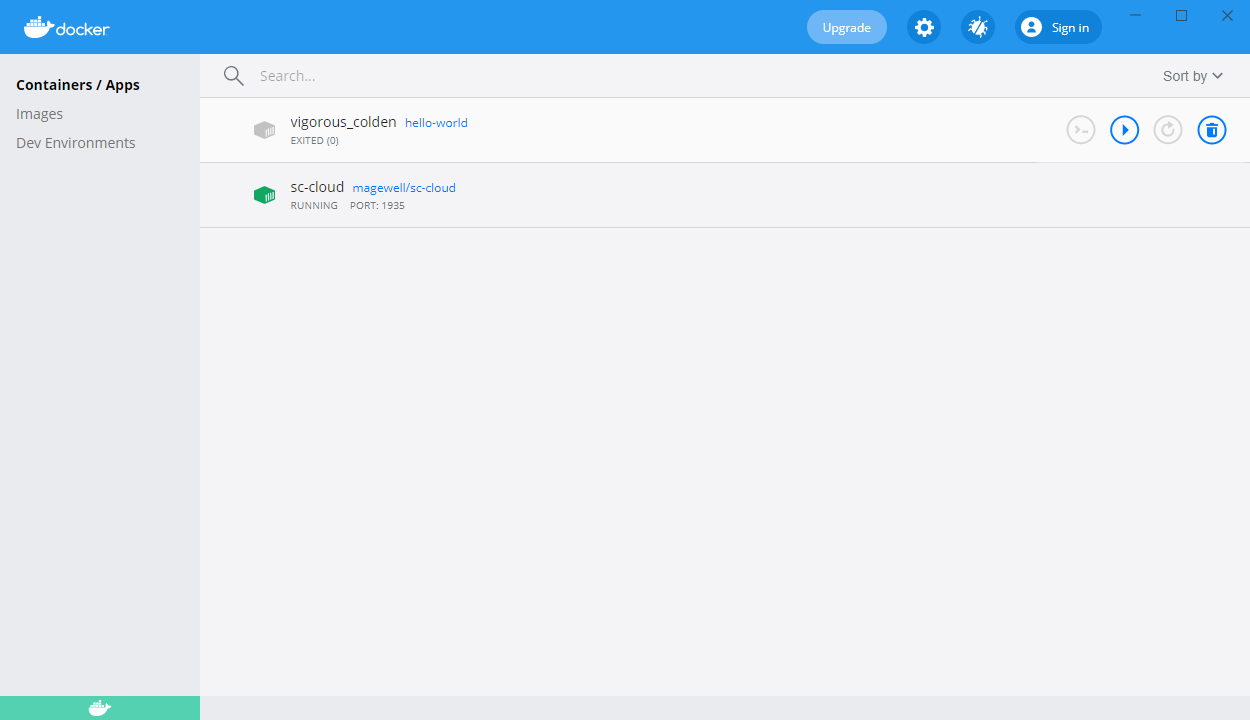
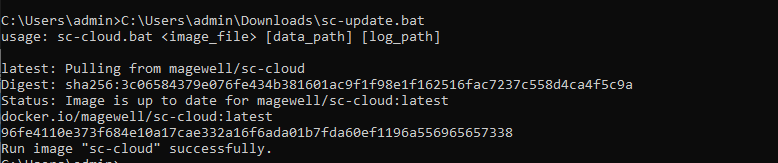
  2. Docker and Docker Compose installed on Windows. If you need help follow docker installation guide(Windows). Similarly, you can follow the docker-compose installation tutorials on Windows. Some knowledge of Docker and Docker Compose is good to have.
  3. Here we use Windows 10 Home Single Language, OS 19042.985, with 6.00 GB system RAM.

Step 1: Install Docker

  1. Download and run Docker Desktop for Windows.
  2. Install Docker component as the prompt dialog.
  3. Restart after installation.

Step 2: Run Docker

  1. Install WSL 2 Linux kernel as prompt.
  2. Restart after installation.

    The Docker starts automatically after reboot.

  3. Click Start to start Docker Desktop.
  4. Typing cmd to Windows search bar and choose Command Prompt from the folder group.
  5. Verify that Docker Engine is installed correctly.
    docker run hello-world
  6. The output indicates that Docker in working correctly:

Step 3: Install Magewell Cloud on Docker

  1. To load Magewell Cloud to Docker, you can run docker image load.
    docker image pull magewell/sc-cloud:latest

    The result as follows.

  2. Check Magewell Cloud image in Docker > Images.
  3. To start your Magewell Cloud image, save Cloud data and specify ports for each protocol, you can run docker run.
    We recommended that you store all your data on the D drive or other data drive instead of the C drive. And make sure the specified ports are not occupied. If any port is occupied, you can change the number or the range.
    In this case, we will create a d:\data folder for Cloud configuration data, a d:\log folder for Cloud logs. Use port 80 for HTTP, 1935 for RTMP, 443 for HTTPS, 7900-8000 for udp (SRT services). And the image file is magewell/sc-cloud.
    docker run --name sc-cloud -it -v d:\data:/data -v d:\log:/log -p 80:80 -p 1935:1935 -p 1936:1936 -p 443:443 -p 7900-8000:7900-8000/udp -d magewell/sc-cloud

    Check Magewell Cloud in Docker > Containers/Apps.

Step 4: (optional) Update Cloud

The Docker must be running and Cloud must be deployed when updating Cloud.

Here takes update Cloud to 1.1.23216 version as an example to illustrate the upgrade method.

  1. Find the sc-update.bat in /data folder of Cloud.

    If the sc-update.bat is missing, contact us.

  2. Open the Windows Terminal.

  3. To auto-download the update package, just drag and drop sc-update.bat file inside the Terminal window. The full path of the dragged will instantly appear. Terminal should display as follows:

    Or you can manually update Cloud to a specified version, for example v1.1.23216. First, obtain and upzip the target version package. Then enter the following objects into Terminal in the following order.

    1. drag and drop sc-update.bat.
    2. enter a space.
    3. drag and drop sc-cloud-1.1.23216.tar.
    Terminal should display as follows:

    Check the target version of Magewell Cloud after update. You can find the Cloud version at the upper left after logged-in successfully.

Post Deployment

  1. To access Magewell Cloud: open your browser and input IP address of Windows device, and 80 the default HTTP with the form as http://IP address:80.

    Then you should see a screen as the figure below.
    The default admin username and password both are Admin, case-sensitive. After the initial login, we highly recommended that you secure access by changing the default password.

  2. To connect your device to Magewell Cloud, go to Add Devices to Magewell Cloud Tutorial.