Tutorial - Quick Deployment for Quad-Screen Output

The device supports decoding and compositing multiple IP streams for output. This tutorial describes how to configure the Pro Convert device for four different sources on the same display at the same time!

Four data sources for multiview in this example are NDI HX, RTSP, HLS, and Zixi protocol streams.

Prerequisites

Before deployment, prepare the following devices and network environment:

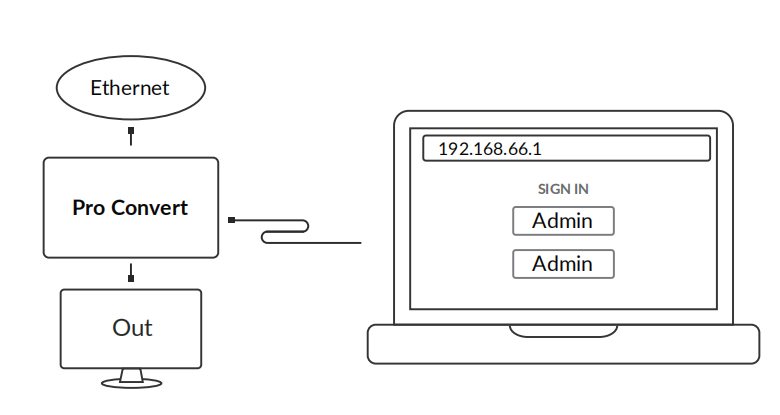
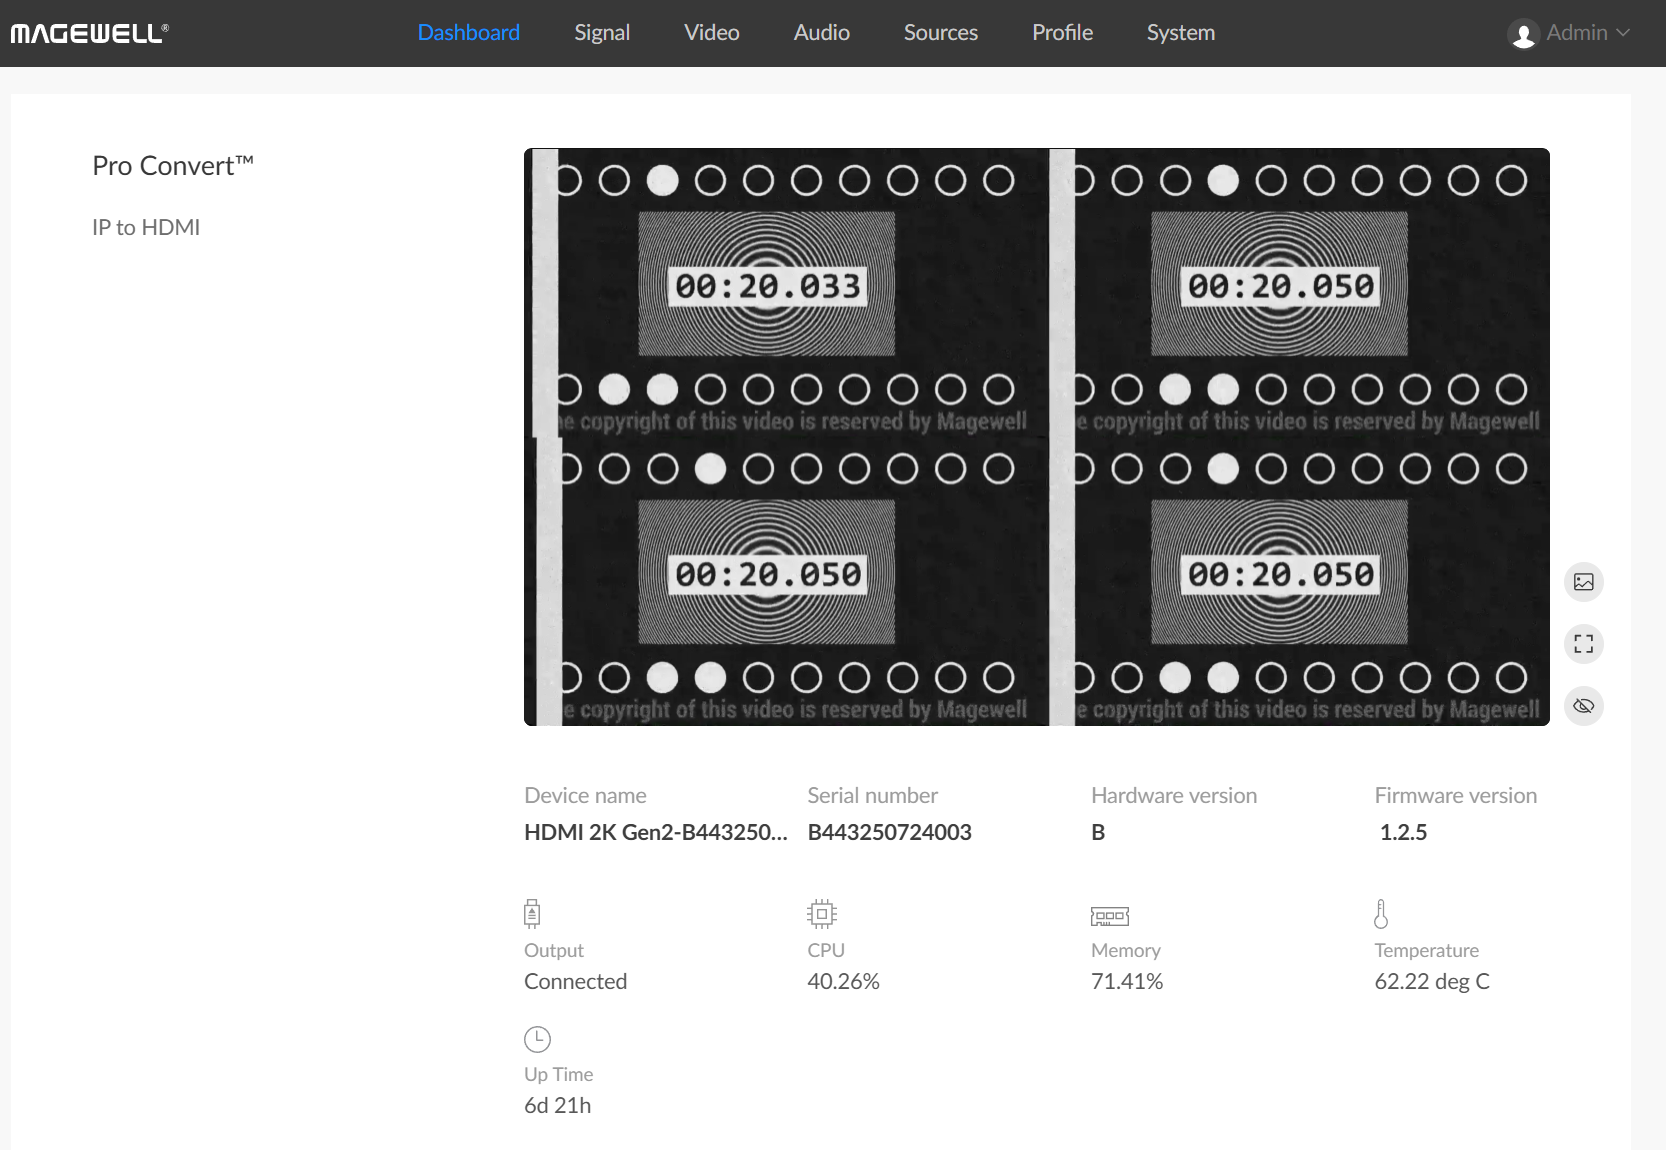
  • A display device that supports 1920x1080p resolution
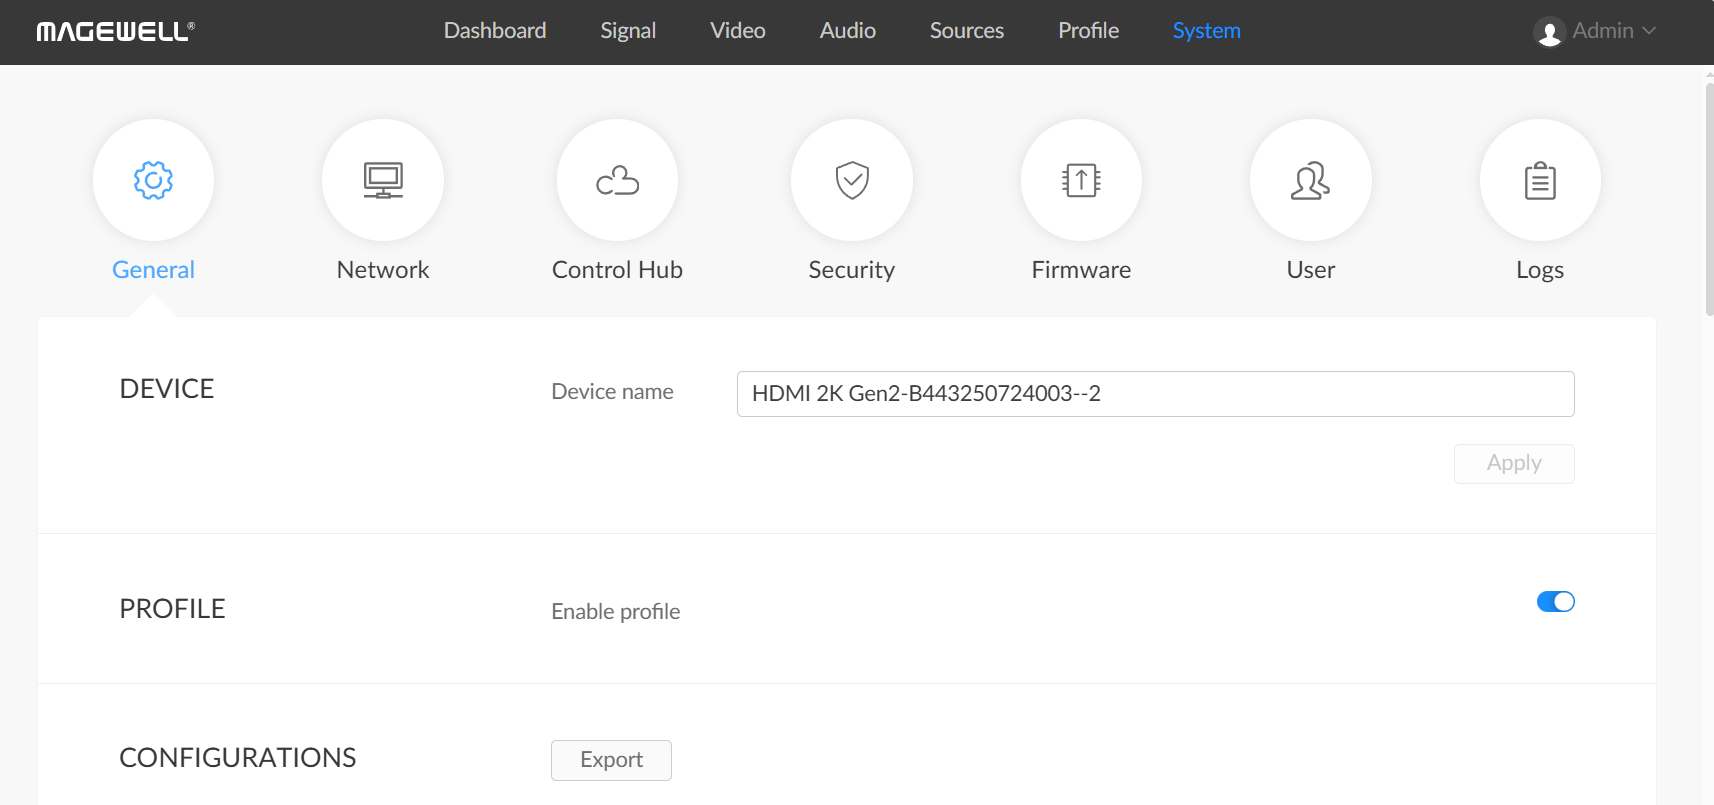
  • A PC for device configuration
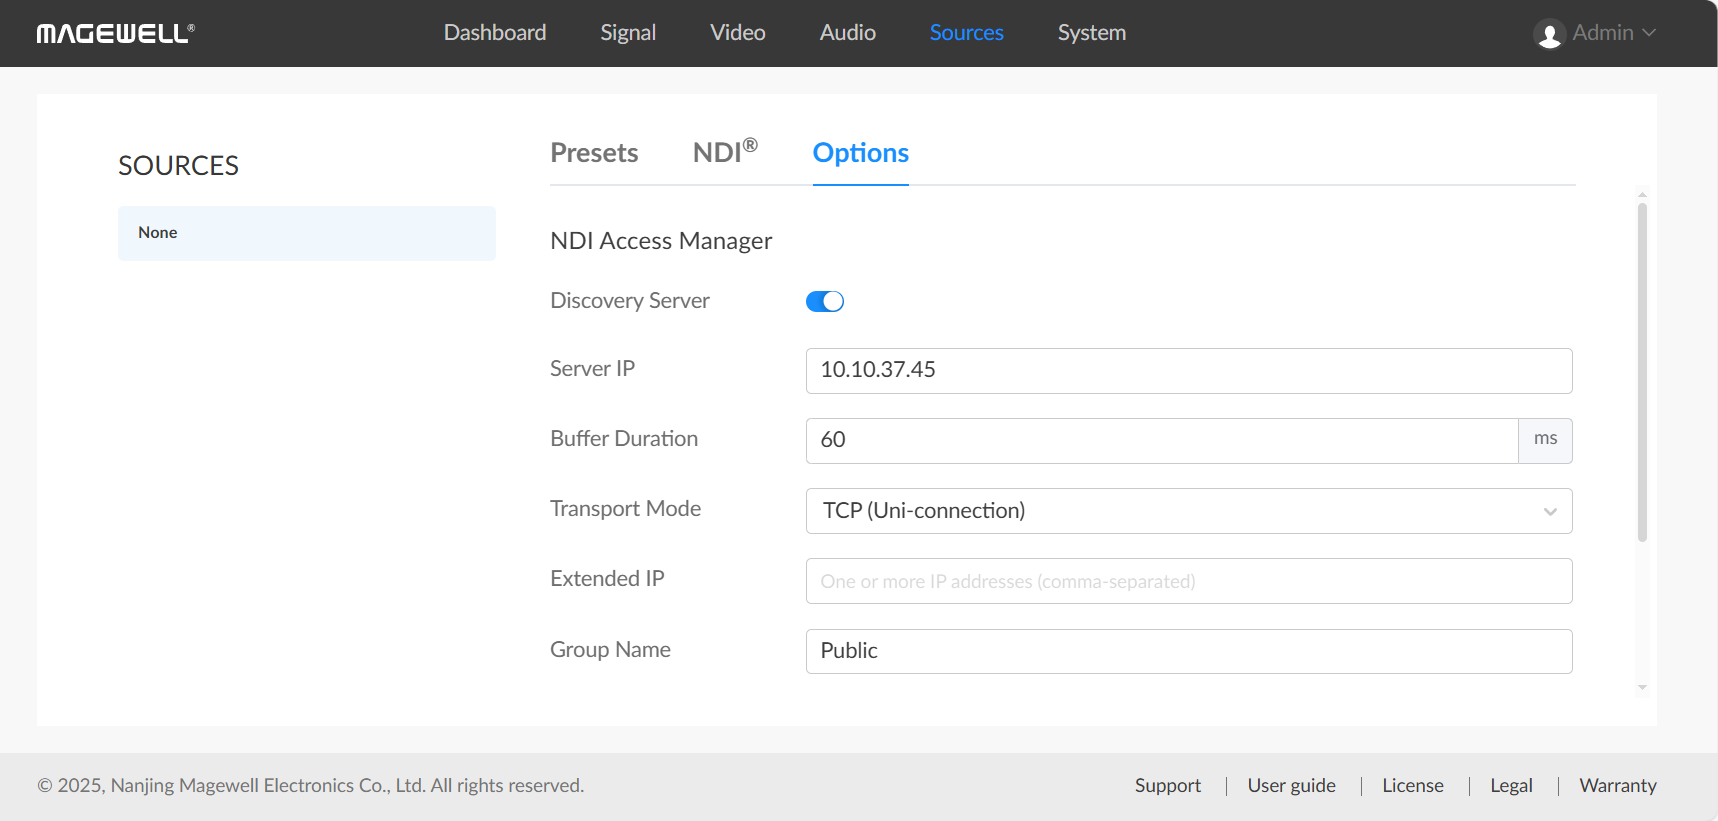
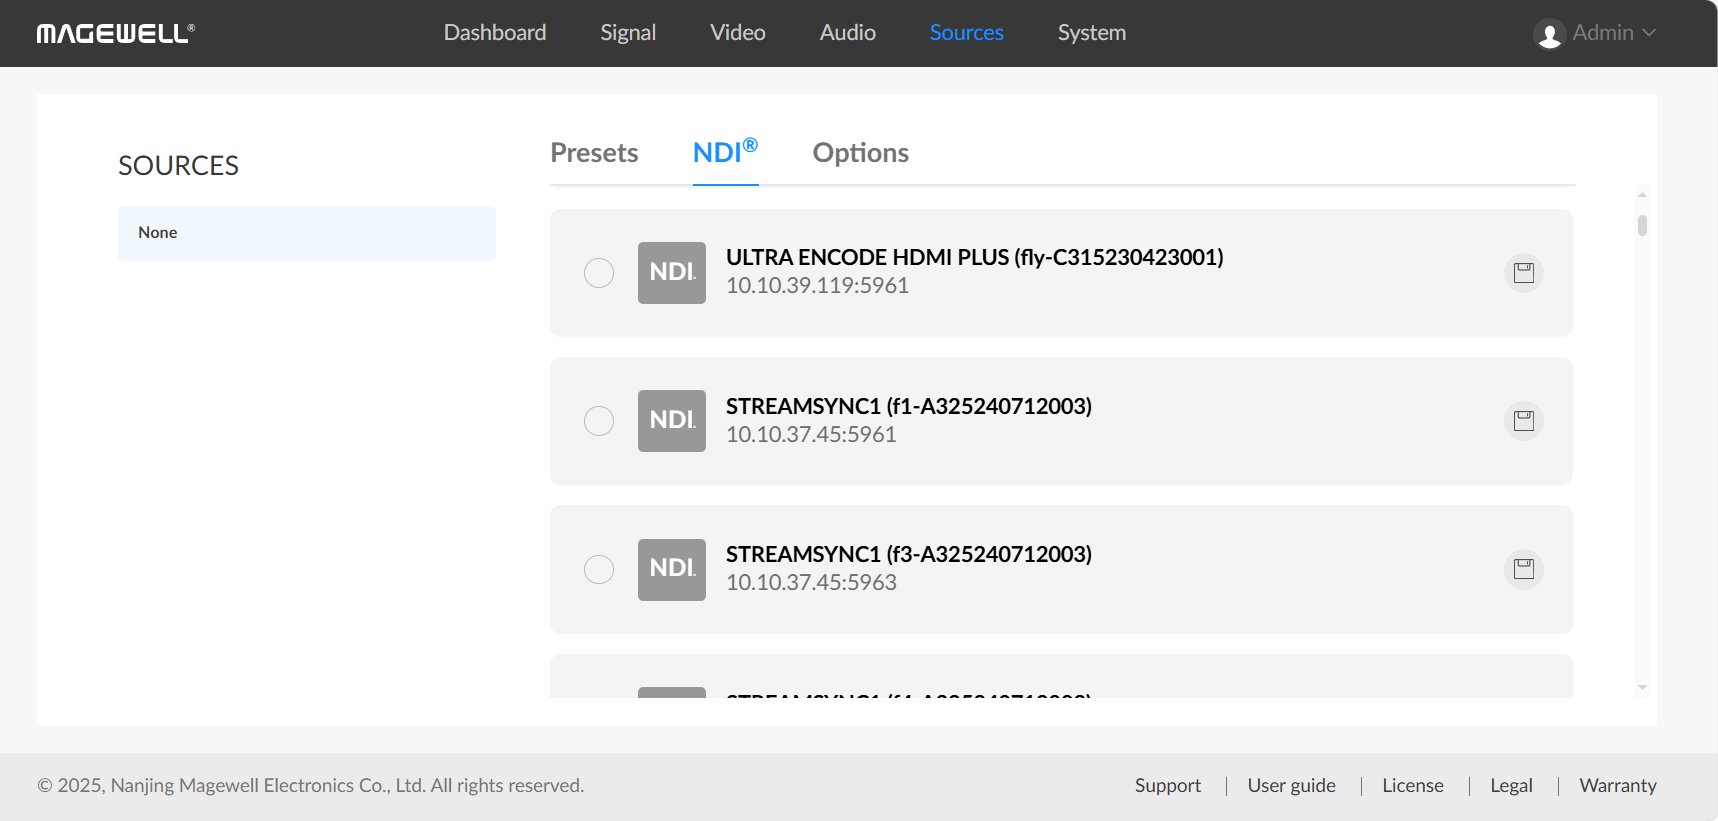
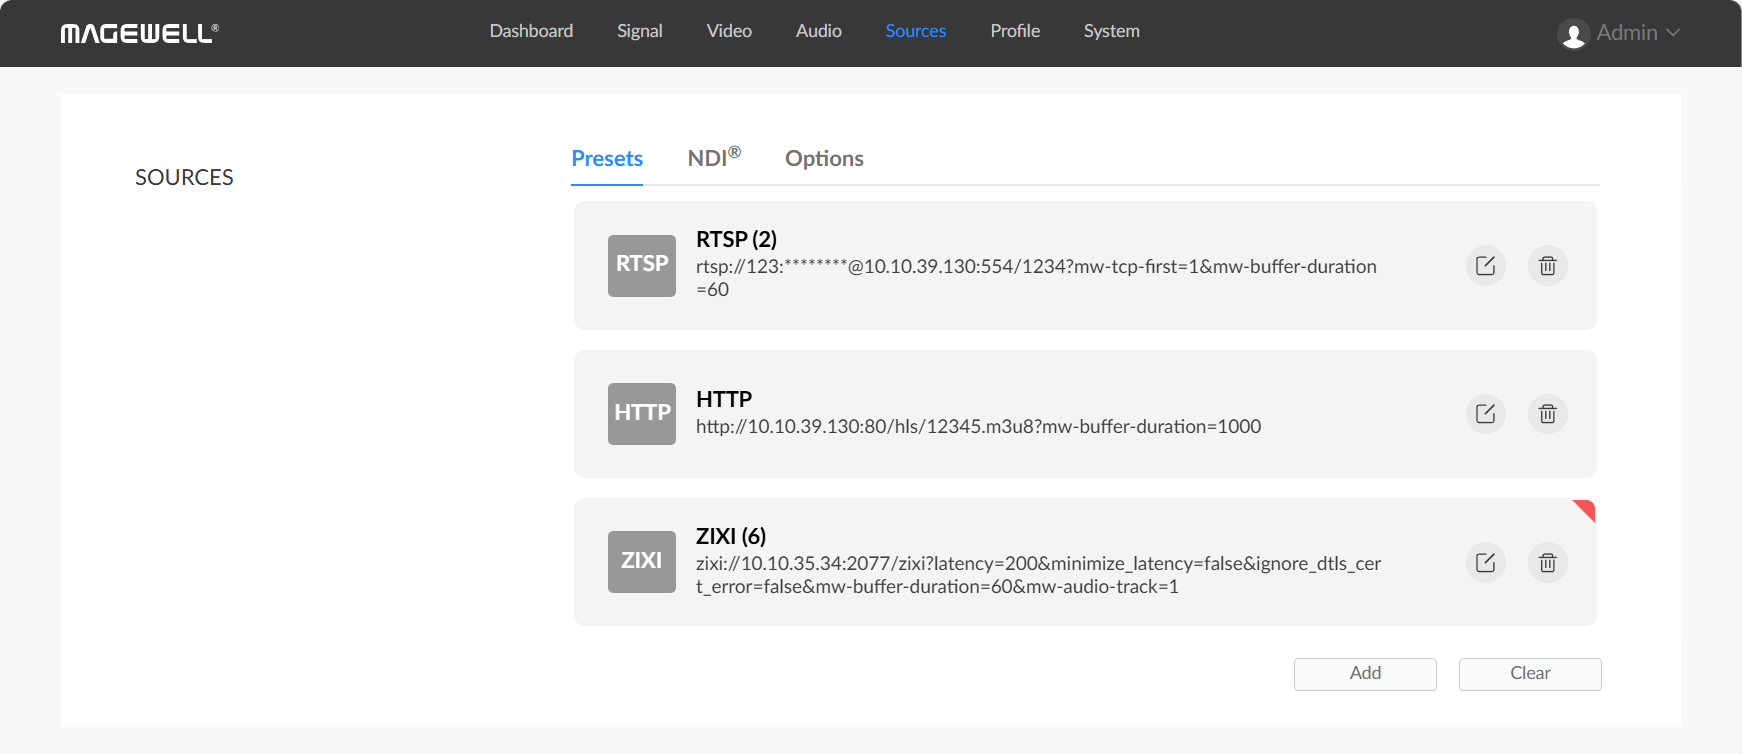
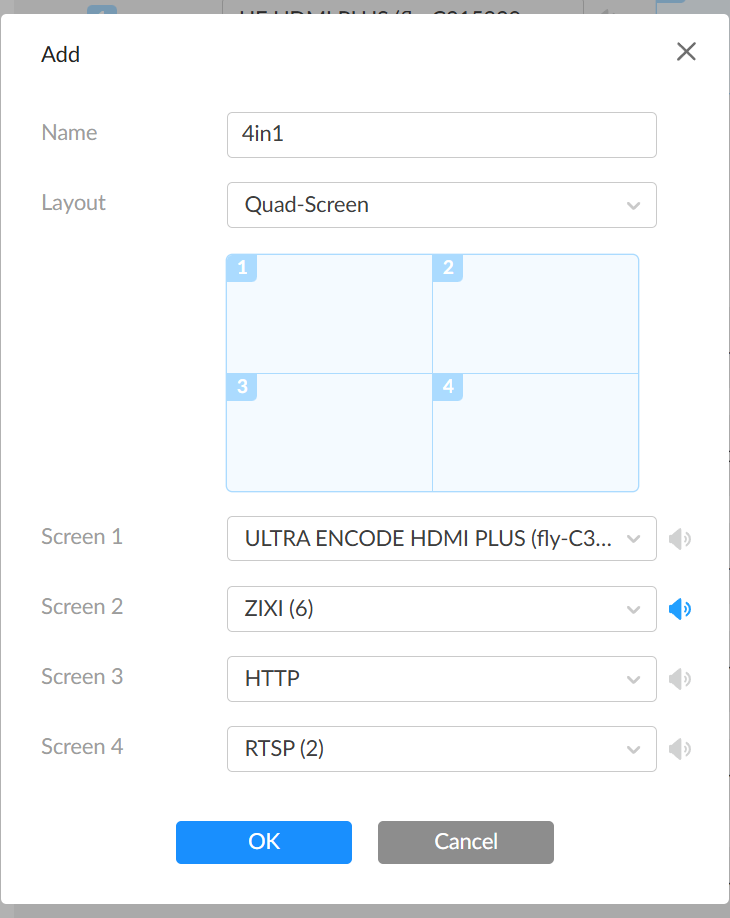
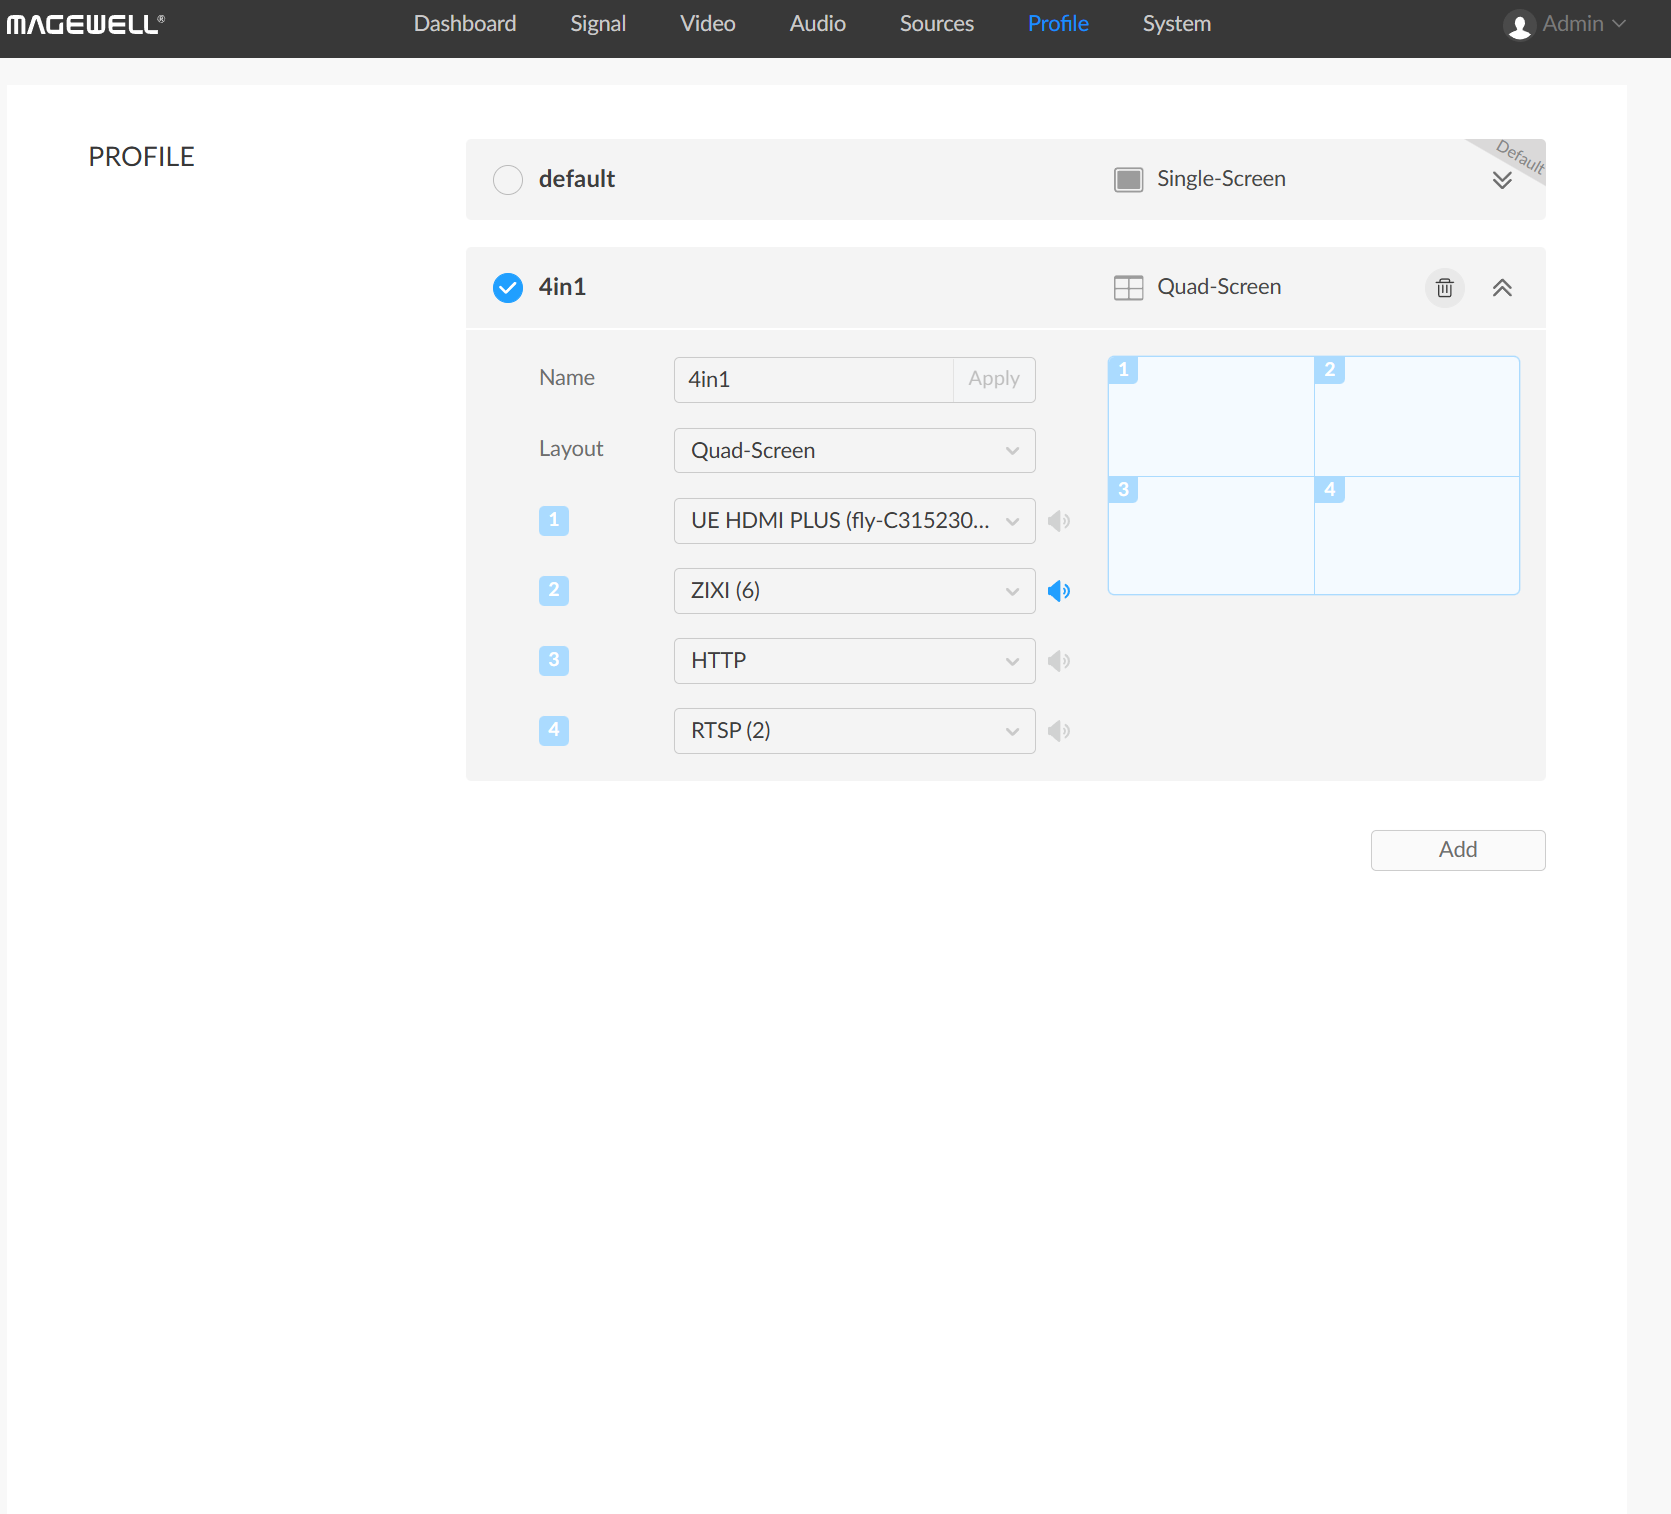
  • Source addresses for NDI HX, RTSP, HTTP, and Zixi streams; encryption keys or authentication credentials if required
  • A Gigabit Ethernet connection is recommended to ensure reliable IP stream transmission

1. Connect Devices and Network

Connect the network, output display, and computer according to the diagram below:

2. Web UI Configuration

  1. Log in to the Web UI using an administrator account.

  2. Under Sources > Options, enable the Discovery Server. Configure the server IP address if required (10.10.37.45 in this example), then click Apply.

    Once enabled, automatically discovered NDI sources will appear under the Sources > NDI® tab without manual addition.

    The NDI source used in this example is ULTRA ENCODE HDMI PLUS with IP address 10.10.39.119:5961.

  3. Add three additional data sources using RTSP, HTTP, and Zixi protocols.

    Under Sources > Presets, click Add, paste the full URL of the data source in the pop-up window, and confirm to add it as a preset. Repeat this process for all three sources.

    • RTSP URL: rtsp://123:123@10.10.39.130:554/1234?mw-tcp-first=1&mw-buffer-duration=60
    • HTTP URL: http://10.10.39.130:80/hls/12345.m3u8?mw-buffer-duration=1000
    • Zixi URL: zixi://10.10.35.34:2077/zixi?latency=200&minimize_latency=false&ignore_dtls_cert_error=false&mw-buffer-duration=60&mw-audio-track=1
  4. Under System > General, turn on the Enable profile.

  5. In the Profile tab, click Add to create a quad-split output profile.

    Assign data sources to splits 1 through 4. Enable the speaker icon on split 2 to output audio from that source.

    Click OK to save the configuration, then enable the 4in1 profile.

3. Verify Output

Check the preview under the Dashboard tab and confirm the output result on the connected display.